Dental Impression Disinfection Protocol | ATBIO
Dental impression disinfection protects the clinic–laboratory pathway only when cleaning, disinfectant selection, contact time, material compatibility, rinsing, documentation, and transport all work together. A quick spray with an unspecified product is not a protocol, and a strong chemical used for too long can damage an otherwise accurate impression.
The safest rule is simple: follow the current instructions for use for both the impression material and the disinfectant, plus national infection-control requirements. The steps below turn that rule into a chairside workflow without pretending that one concentration or exposure time is suitable for every alginate, vinyl polysiloxane (VPS/PVS), polyether, tray, or jurisdiction.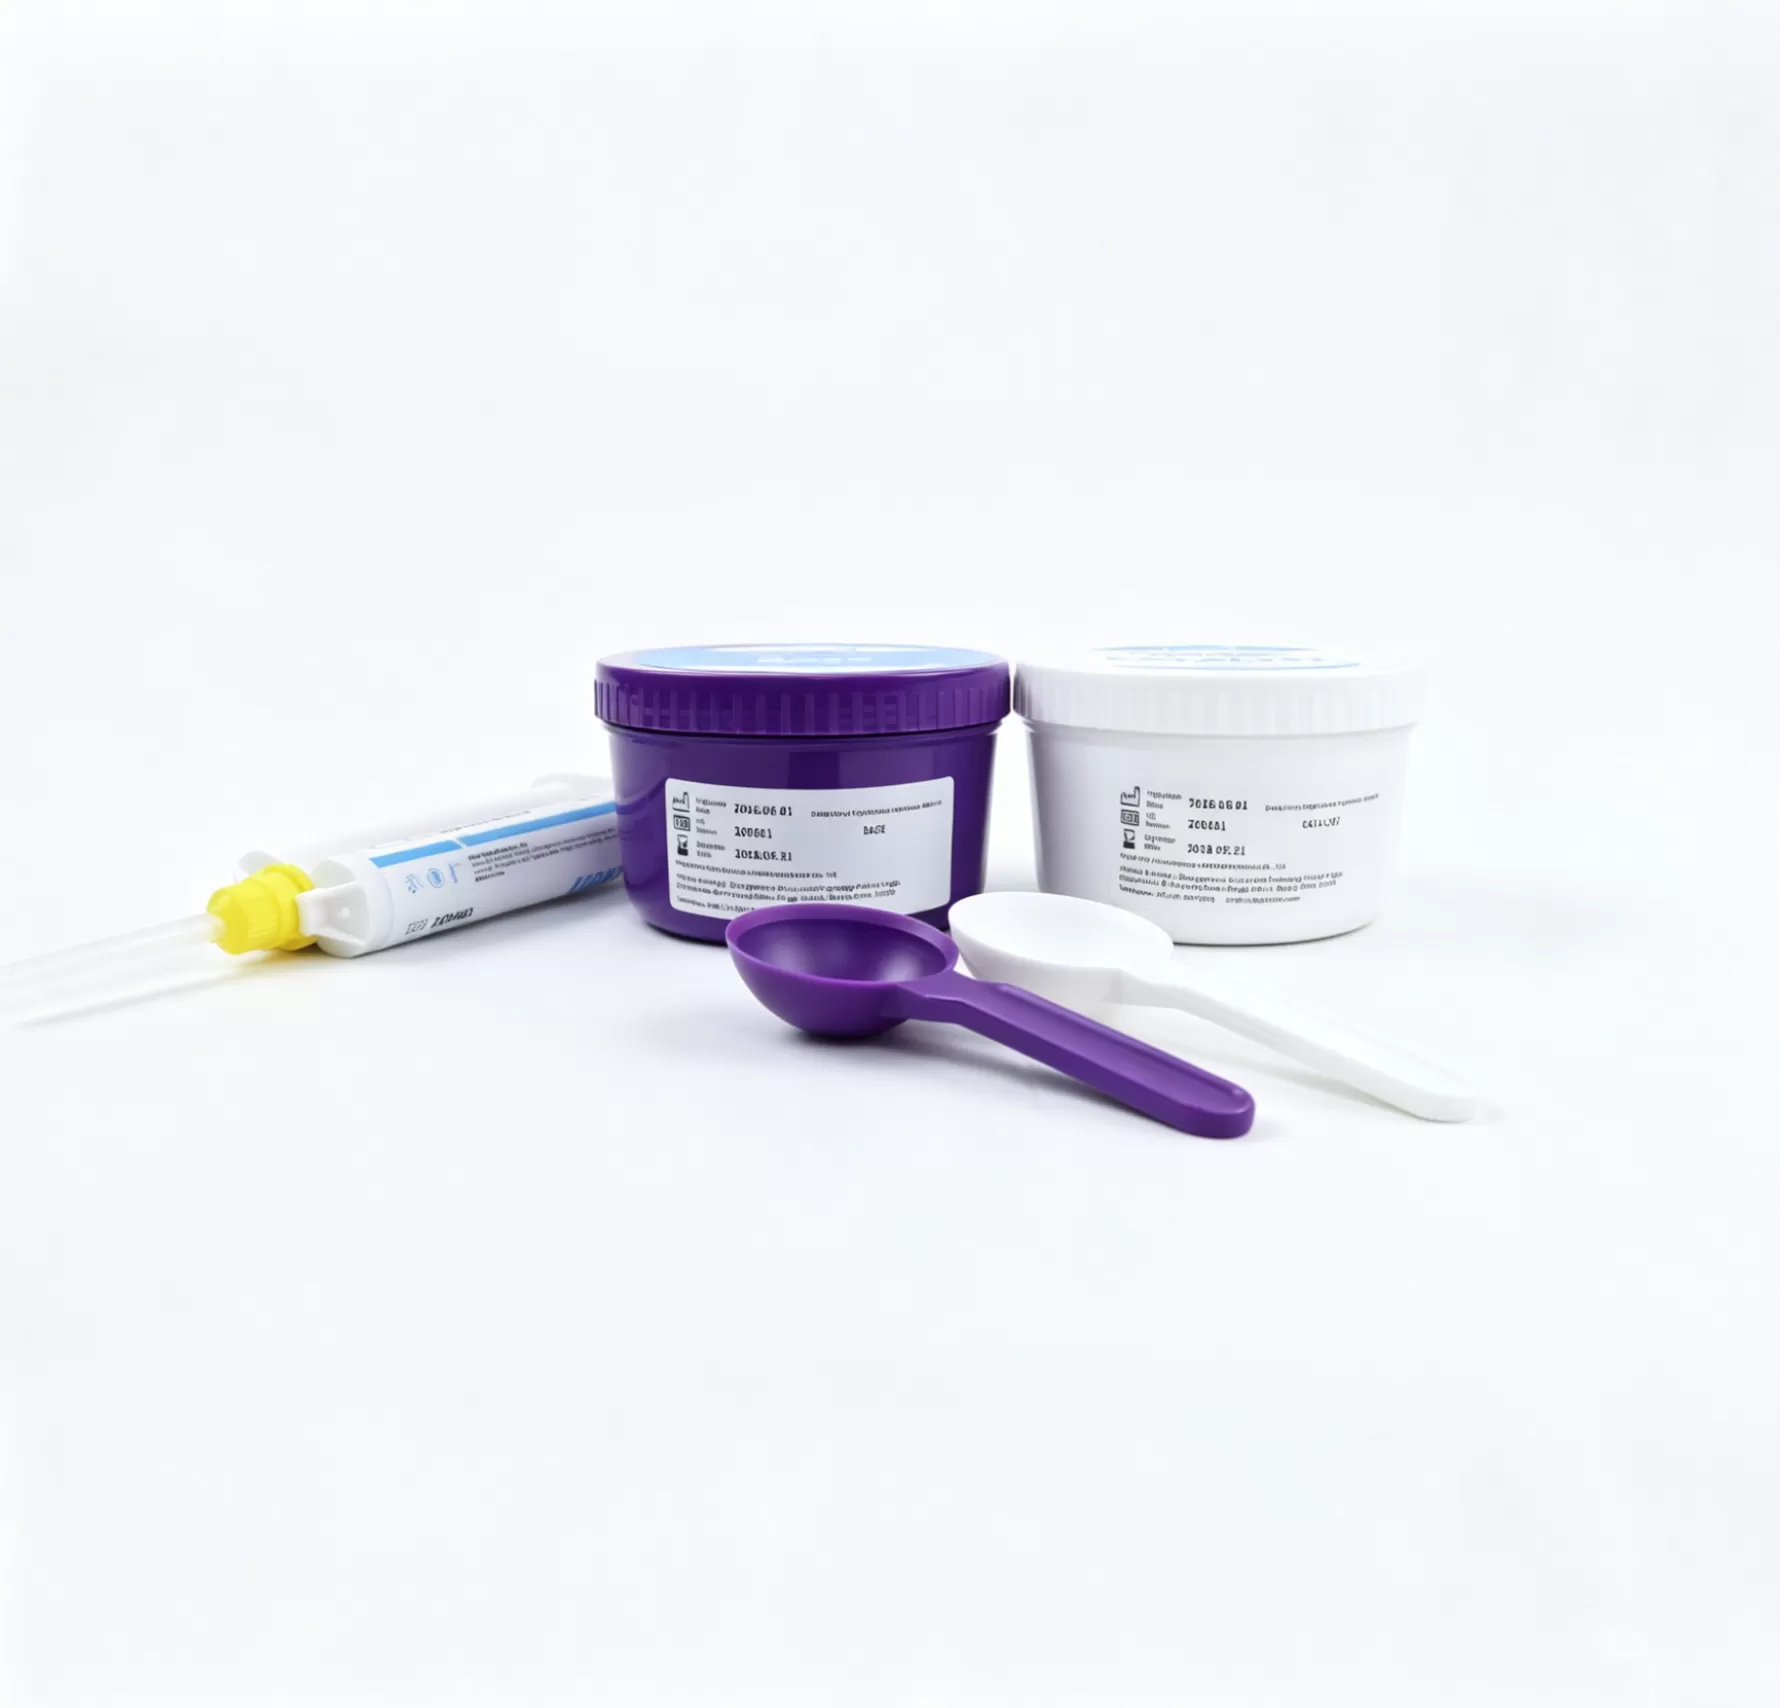
01 — Clean, Disinfect, and Sterilize Are Different Actions
Cleaning removes blood, saliva, debris, and other organic material. It must precede disinfection because retained soil can shield microorganisms and interfere with the process. Disinfection reduces pathogenic microorganisms on an inanimate item according to a validated product label; it does not necessarily destroy bacterial spores. Sterilization destroys all forms of microbial life and is the preferred reprocessing method for heat-tolerant semicritical instruments such as many reusable impression trays.
The set impression and its reusable tray therefore follow different pathways. The impression is normally cleaned and chemically disinfected with a compatible method. The reusable tray is separated after the impression workflow and reprocessed according to its own validated instructions—typically cleaning followed by heat sterilization when the tray is heat tolerant. Never place a disinfected impression back into a contaminated tray or shipping container.
02 — Base the SOP on Three Controlling Sources
A written standard operating procedure (SOP) should be approved only when these three sources agree:
-
Applicable public-health guidance and law. Identify the locally required antimicrobial spectrum and authorized use before choosing a product. CDC dental-laboratory guidance supports cleaning, disinfection, thorough rinsing, and communication before laboratory handling or dispatch; its jurisdiction-specific product-registration requirements must not be treated as authorization in another country.
-
The impression-material and tray instructions. Confirm permitted spray or immersion methods, compatible chemistry, maximum exposure, rinsing, drying, pour delay, storage, and tray reprocessing.
-
The disinfectant label. Confirm healthcare indication, spectrum, dilution, required wet contact time, temperature, material limitations, PPE, ventilation, preparation life, and disposal.
If the disinfectant's required contact time exceeds the material's permitted exposure, that combination is unsuitable: neither shorten the antimicrobial contact time nor lengthen immersion to force a match. If instructions are incomplete or contradictory, suspend use of that combination and obtain written clarification from both manufacturers and the infection-prevention lead before approving the SOP.
03 — Eight-Step Chairside Disinfection Protocol
| Step | Action | Control point |
|---|---|---|
| 1 | Prepare before seating the impression. | Select the approved disinfectant and method, prepare a timer, container or spray setup, PPE, label, and clean transport container. |
| 2 | Receive the impression in the contaminated zone. | Wear task-appropriate PPE and contain splashes. Start processing as soon as practical after removal from the mouth. |
| 3 | Clean away visible blood, saliva, and debris. | Use the material manufacturer's specified cleaning/rinsing method. Avoid aerosols, aggressive brushing, high pressure, or heat unless expressly permitted. |
| 4 | Apply the compatible disinfectant. | Use the exact labeled dilution and the material-approved spray or immersion technique. Cover every impression surface without exceeding the validated exposure. |
| 5 | Time the full wet contact period. | Start the timer only after coverage is complete. For spray methods, keep the surface wet for the entire labeled period without pooling or drying. |
| 6 | Rinse and dry as directed. | After contact time is complete, follow both labels for rinsing and drying. Prevent chemical residue while avoiding dehydration or water uptake. |
| 7 | Inspect and document. | Check detail, tears, tray separation, distortion, and residual contamination. Record material, disinfectant, dilution, method, contact time, date/time, and operator. |
| 8 | Pour, scan, store, or dispatch within the validated window. | Use a clean closed container and written decontamination status. Follow the material instructions for pour delay and storage; never store the impression in disinfectant. |
04 — Match the Method to the Impression Material
Material family is only the first screen; formulation, tray adhesive, impression thickness, disinfectant chemistry, and exposure can change the result. Qiu and colleagues' 2023 systematic review found antimicrobial activity for studied sodium-hypochlorite and glutaraldehyde regimens, but also reported altered wettability in addition silicone and dimensional effects in condensation silicone. Hardan and colleagues' 2022 review of in vitro studies found reduced bacterial counts with several agents and substantial variation between studies. Neither review establishes a universal clinical regimen or validates an untested GK® product–disinfectant combination.
| Material family | Primary material risk | What the SOP must verify |
|---|---|---|
| Alginate / irreversible hydrocolloid | Water gain or loss and delayed pouring can alter dimensions. | Permitted spray or immersion method, chemistry, wet time, post-rinse handling, humidity/storage, and latest acceptable pour time. |
| VPS / addition silicone | Surface wettability, residues, adhesive interface, and unvalidated exposure may affect the cast or scan. | Compatible chemistry and method, full contact time, rinse/dry sequence, gypsum or scanner compatibility, and pour timing. |
| Polyether | Its hydrophilic behavior makes prolonged liquid exposure a particular concern. | Only the manufacturer's validated agent, method, maximum exposure, drying, storage, and pour interval. |
| Other materials and bite registrations | Behavior cannot be inferred from a different material family. | Product-specific reprocessing, compatibility, and accuracy evidence; do not copy the VPS or alginate protocol. |
Do not convert research concentrations into a clinic policy unless the exact impression and disinfectant manufacturers, local rules, and infection-prevention lead support that use. Study results inform selection; labels and validated instructions control execution.
05 — Choose and Control the Disinfectant
-
Verify authorization and claim: use a product authorized for the intended healthcare application and required antimicrobial spectrum in your jurisdiction.
-
Verify compatibility: obtain written compatibility for the impression material, tray, tray adhesive, and any scanner or gypsum workflow that follows.
-
Control preparation: document concentrate lot, dilution, preparation date/time, expiry or use life, solution changes, and test-strip checks when the label requires them.
-
Control exposure: use a dedicated timer and ensure the whole surface remains wet for the complete labeled contact time.
-
Protect staff: follow the safety data sheet and label for gloves, eye/face protection, protective clothing, ventilation, spill response, and disposal.
More concentrated or longer is not automatically safer. It can increase worker exposure, corrode trays, alter surfaces, affect gypsum, or distort hydrophilic materials while adding no validated benefit.
06 — Make the Clinic–Laboratory Handoff Traceable
CDC guidance emphasizes communication so that disinfection is completed without damaging overexposure or unnecessary duplication. The outbound record should identify the item, material, disinfectant, method, concentration or ready-to-use status, completed contact time, processing date/time, and responsible person. The clean container should clearly indicate that processing was completed.
The laboratory should have a separate receiving and decontamination area. If no credible processing record accompanies an item, laboratory staff should treat it as potentially contaminated and apply their validated receiving policy before production-area handling. The clinic and laboratory should also agree who disinfects finished prostheses or appliances before they return to the patient.
07 — Reprocess Trays and Supporting Equipment Separately
Reusable impression trays contact mucous membranes and are semicritical patient-care items. CDC guidance favors heat sterilization for heat-tolerant semicritical equipment. After removing the impression according to the material and adhesive instructions, clean and reprocess the tray using the tray manufacturer's validated cycle. A tray labelled single use must not be reused. Do not confuse an apparently undamaged tray with one that has validated reusable-device instructions.
Timers, bowls, spatulas, dispensers, cartridge guns, work surfaces, and transport boxes need their own risk-based cleaning and reprocessing instructions. A clean impression can be recontaminated immediately by gloves, a contaminated dispenser handle, or an untreated container.
Material choice changes what the disinfection SOP may safely do. Before standardizing a chemical or contact time, compare alginate, silicone and other families in the dental impression materials buyer’s guide and then follow the selected material and disinfectant instructions.
08 — Common Failures and Their Corrective Actions
-
Spray and pack immediately: use a timer and maintain complete wet contact for the labeled period.
-
Skip cleaning: remove visible soil before disinfection using the approved low-splash method.
-
Use one protocol for every material: maintain a product-specific compatibility matrix linked to current IFUs.
-
Extend immersion “for safety”: stop at the validated exposure and investigate any missed timing as a process deviation.
-
Send an unlabeled impression: attach a written decontamination record and use a clean closed container.
-
Confuse tray reprocessing with impression disinfection: separate the two pathways and sterilize a heat-tolerant reusable tray as instructed.
09 — Frequently Asked Questions
1. What is the correct disinfectant contact time for a dental impression?
Use the full contact time on the disinfectant label only when that agent and method are compatible with the exact impression material. There is no universal time for all products. Start timing after complete coverage and keep the surface wet throughout.
2. Is spray or immersion better?
Neither is universally superior. Immersion can improve complete contact but may increase liquid exposure; spray can limit immersion but fails if coverage or wet time is incomplete. Follow the impression-material IFU and disinfectant label for the validated combination.
3. Can alginate be immersed?
Only if the alginate manufacturer permits the specific agent, method, and exposure. Because alginate can gain or lose water, avoid improvising duration or storage and pour within the validated window.
4. Must the impression be rinsed after disinfection?
CDC dental-laboratory guidance calls for thorough rinsing after disinfection. The practical sequence and water exposure must also follow the material and disinfectant instructions so residues are removed without compromising accuracy.
5. Should a laboratory disinfect an impression again?
Clinic and laboratory should communicate to prevent both missed processing and unnecessary duplicate exposure. If reliable written information is absent, the laboratory should treat the item as potentially contaminated and follow its validated receiving policy.
6. Can the same protocol be used for conventional and digital impressions?
No. An intraoral scanner, tip, computer controls, and accessories follow device-specific reprocessing instructions. A chemical protocol for a conventional impression must not be transferred to electronic equipment.
10 — References
-
Kohn WG, Collins AS, Cleveland JL, et al. Guidelines for Infection Control in Dental Health-Care Settings—2003. MMWR Recommendations and Reports. 2003;52(RR-17):1–61. See the dental laboratory section. https://stacks.cdc.gov/view/cdc/6743/cdc_6743_DS1.pdf
-
Centers for Disease Control and Prevention. Sterilization and Disinfection in Dental Settings, updated May 15, 2024. https://www.cdc.gov/dental-infection-control/hcp/summary/sterilization-disinfection.html
-
American Dental Association. Infection Control and Sterilization. https://www.ada.org/resources/ada-library/oral-health-topics/infection-control-and-sterilization
-
Qiu Y, Xu J, Xu Y, et al. Disinfection efficacy of sodium hypochlorite and glutaraldehyde and their effects on the dimensional stability and surface properties of dental impressions: a systematic review. PeerJ. 2023;11:e14868. https://pubmed.ncbi.nlm.nih.gov/36846444/
-
Hardan L, Bourgi R, Cuevas-Suárez CE, et al. Disinfection Procedures and Their Effect on the Microorganism Colonization of Dental Impression Materials: A Systematic Review and Meta-Analysis of In Vitro Studies. Bioengineering. 2022;9(3):123. https://pmc.ncbi.nlm.nih.gov/articles/PMC8945053/
-
AT&M Biomaterials Co., Ltd. GK® Dental Vinyl Polysiloxane Impression Material, English instructions for use, file labelled V2601 (document carries code GXJ-20160118). /file/IFU-GK-IMPRESSION-MATERIALS-EN-V2601.pdf
11 — About ATBIO
This article is published by ATBIO, the dental-materials brand of AT&M Biomaterials Co., Ltd.
ATBIO is the dental-materials brand of AT&M Biomaterials Co., Ltd. The linked GK® VPS IFU describes post-removal rinsing, “sterilize,” and drying, but does not specify a sterilization cycle or a disinfectant, concentration, and contact time. That wording is not a validated sterilization or disinfection protocol. Obtain a current, clarified IFU and written compatibility instructions for the exact material and locally authorized disinfectant before adopting a GK® workflow; do not infer permission to autoclave the set impression. Review the ATBIO impression-materials portfolio and manufacturer information for current documents.
This article provides general educational information and does not replace local infection-control law, occupational-safety requirements, an infection-prevention professional's risk assessment, or the current instructions for any material, disinfectant, tray, scanner, or appliance. This page does not claim unconditional sale authorization in every country.
12 — Related Products
-
GK® Dental Vinyl Polysiloxane Impression Material — an intraoral VPS impression material; use only its current product-specific handling and reprocessing instructions.
-
GK® VPS Impression Material — Bulk Packaging — a bulk-format supply option whose final configuration, labeling, IFU, and market authorization must be defined before distribution.
-
GK® Silicone Rubber Impression Material for Dental Laboratory Use — a laboratory material, not an intraoral substitute; follow its separate intended use and IFU.
Need current product documents for protocol review? Identify the destination market, product, configuration, and intended workflow when you request a quote or technical-document review.
Do you prefer online learning?
Live webinars and professional tips — learn when, where and how.
Access our online learning opportunities