Preventive Resin Restoration | PRR Guide | ATBIO
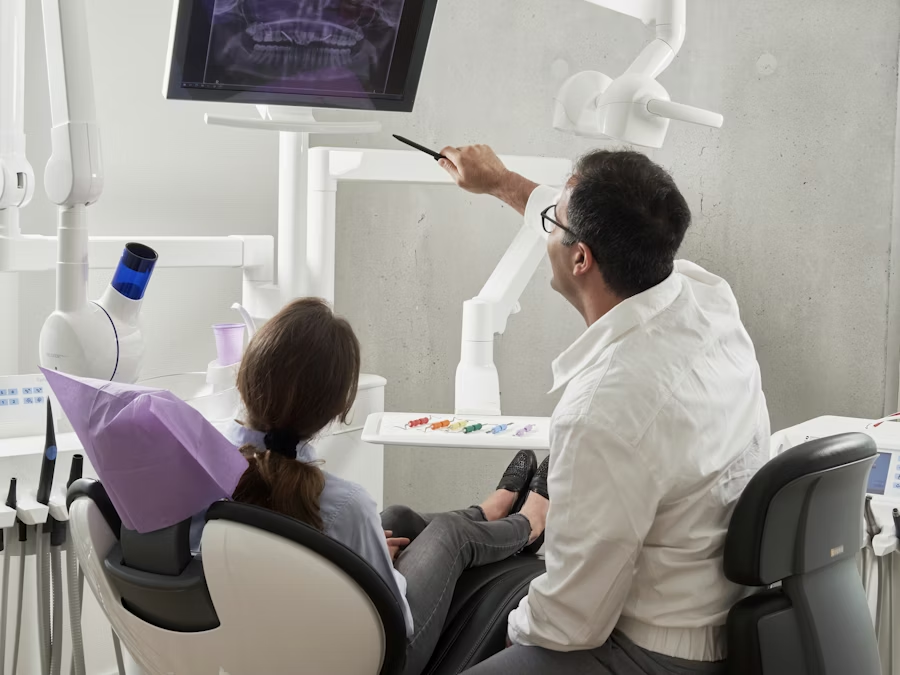
Preventive resin restoration (PRR) combines minimal caries removal with an adhesive restoration and sealing of the remaining susceptible pits and fissures. It is intended for carefully selected occlusal lesions where a conventional Class I preparation would remove more sound tissue than necessary.
PRR is not simply a small filling, and it is not a substitute for diagnosis. The clinician must distinguish a sound or noncavitated fissure that may be sealed from a localized cavitated lesion that needs operative access, and from a larger lesion that requires a conventional restoration. This guide presents a practical decision framework, a generalized clinical sequence, and a materials checklist for professional use.
Product-specific indications, etching times, adhesive steps, increment limits, and light-curing instructions always take priority over a generalized workflow.
01 — What Is a Preventive Resin Restoration?
A preventive resin restoration is a conservative procedure in which the clinician opens only the localized defective portion of a pit or fissure, removes tissue according to the selected caries-management strategy, restores the small preparation with a resin-based restorative material, and seals the remaining at-risk fissure system.
The method reflects a minimal-intervention principle: treatment should match lesion activity, cavitation, depth, cleansability, caries risk, and the ability to maintain a seal. Wright and colleagues' guideline supports sealants on sound and noncavitated occlusal surfaces of primary and permanent molars in children and adolescents. Griffin and colleagues and de Assunção and colleagues also support sealing selected noncavitated lesions to limit progression, with the latter review addressing lesions extending radiographically into dentin. These are sealant findings, not proof of a particular PRR material's longevity. A PRR adds a localized restoration only where operative treatment is indicated.
The boundaries matter. A small cavitation can fall within PRR; extensive breakdown, symptoms suggesting pulpal involvement, or inability to control moisture may require a different plan. Neither a stained fissure nor a radiolucency reaching dentin automatically requires drilling. Diagnosis and lesion management should follow current professional guidance and the clinician's judgment.
02 — When to Consider PRR
PRR may be considered when the findings indicate a small, localized occlusal lesion while most of the fissure system and surrounding tooth structure remain suitable for preservation. Relevant assessment points include:
Visual appearance after cleaning and drying: localized opacity, discoloration, surface breakdown, or a suspicious fissure should be interpreted alongside lesion activity rather than color alone.
Cavitation and cleansability: a localized site that requires operative access may be suitable for a micro-preparation, while a noncavitated lesion may instead be considered for sealing and monitoring.
Radiographic information: bitewing findings can complement, but do not replace, visual-tactile assessment. Radiographic lesion depth and clinical cavitation do not always correspond exactly.
Caries risk: recent disease activity, diet, fluoride exposure, plaque control, and recall reliability influence whether sealing, restoration, or another management pathway is appropriate.
Isolation: resin-based procedures require reliable control of saliva and other contaminants.
Tooth and patient factors: eruption status, occlusion, cooperation, symptoms, and the ability to return for review all affect selection.
PRR is generally not the appropriate label for a large cavitated lesion, extensive undermined enamel, signs or symptoms requiring pulpal diagnosis, or a preparation whose size and load demand a conventional restorative design. When diagnostic uncertainty could materially change treatment, additional assessment is preferable to treating from a simplified checklist.
03 — Step-by-Step Preventive Resin Restoration Procedure
1. Examine, diagnose, and document
Clean the occlusal surface, rinse, and dry it before assessment. Combine careful visual-tactile examination with radiographs when indicated. Avoid forceful probing that can damage a noncavitated surface. Record lesion extent, activity, caries risk, symptoms, occlusion, and the rationale for choosing PRR.
2. Establish isolation
Use rubber dam isolation when feasible or another method that provides dependable moisture control and access. Saliva or blood contamination can reduce resin bond strength. If contamination occurs, stop and follow the adhesive manufacturer's validated decontamination or reapplication instructions rather than assuming that air drying alone has restored the surface.
3. Open only the site that requires access
Use a suitably small rotary instrument, air-abrasion system, or other controlled technique to access the localized lesion. Preserve sound fissure walls and avoid extending the preparation solely to create conventional mechanical retention. Adhesion provides micromechanical retention but does not compensate for a margin that cannot be sealed or a structure unable to support the restoration. Do not equate all discolored or softened dentin with tissue that must be removed.
4. Manage the carious tissue
For shallow or moderately deep cavitated lesions requiring restoration, the consensus by Schwendicke and colleagues recommends selective removal to firm dentin. Deep lesions in vital teeth may require selective removal to soft dentin near the pulp, while establishing a seal at the periphery. Such a lesion needs a depth- and pulp-specific plan rather than automatic continuation of a routine PRR. Preserve healthy and remineralizable tissue; complete removal to hard dentin everywhere is not the default objective.
5. Condition enamel and dentin
Apply phosphoric-acid etchant and/or a self-etching adhesive strategy exactly as specified for the chosen system. When phosphoric acid is used, enamel and dentin contact times may differ. Rinse, dry, and manage dentin moisture according to the instructions for use. Extend enamel conditioning to the fissures that will receive a resin sealant when required by that sealant system.
6. Apply the adhesive
Actively apply, air-thin, and light-cure the adhesive according to the manufacturer's sequence. Confirm compatibility between the adhesive, restorative composite, and sealant. A universal adhesive can support more than one etching mode, but the label “universal” does not make every protocol interchangeable.
7. Restore the localized preparation
A flowable composite may adapt well to a small, conservative preparation when the product is indicated for that use. A larger or load-bearing defect may require a paste composite, with or without a flowable liner. Respect the restorative material's maximum increment thickness and required radiant exposure. Avoid using viscosity alone as evidence of strength, wear resistance, or curing depth.
8. Seal the remaining susceptible fissures
Place the selected pit-and-fissure sealant over the prepared fissure network according to its instructions. Prevent bubbles and pooling, maintain clear margins, and avoid excess on cusp inclines. The sealant and localized restoration should form a continuous, inspectable preventive-restorative surface.
9. Complete curing and verify the result
Position the curing-light tip close and appropriately oriented to each surface, and follow the material's exposure time and irradiance requirements. Check coverage, voids and marginal defects, then finish and polish as needed. A hard-looking surface does not prove adequate cure at depth; verify the placement and exposure protocol rather than appearance alone. Use articulating paper to assess static and excursive contacts and remove premature contacts without unnecessarily damaging the seal.
10. Recall and maintain
Review sealant retention, restoration margins, caries activity, symptoms, and occlusion at recall. Partial sealant loss does not automatically require replacement of the entire PRR; clean, recondition, and reseal suitable areas using a validated protocol. New cavitation, recurrent disease, fracture, or symptoms require fresh diagnosis.
04 — Materials and Instruments Checklist
Cleaning supplies and diagnostic instruments
Appropriate radiographic support when indicated
Rubber dam or another reliable isolation system
Small rotary instruments or another conservative access system
Phosphoric-acid etchant where required
A compatible dental adhesive
Flowable and/or paste composite suited to the preparation
Resin-based pit-and-fissure sealant
LED curing light with verified output and a clean light guide
Applicators, finishing instruments, polishing points, and articulating paper
For portfolio planning, the NANOFIL® Composite Intro Kit provides context for a coordinated restorative range. Buyers should still verify the current instructions and intended use of every component before combining products in one protocol.
05 — PRR vs Sealant vs Conventional Restoration
| Decision point | Pit-and-fissure sealant | Preventive resin restoration | Conventional restoration |
|---|---|---|---|
| Typical clinical concept | Sound at-risk or selected noncavitated occlusal surface | Localized operative site plus susceptible fissures suitable for sealing | Lesion extent, cavitation, anatomy, or load requires a broader restorative design |
| Tooth preparation | Usually none beyond cleaning and conditioning | Localized access limited to the site requiring restoration | Preparation follows lesion extent and restorative requirements |
| Resin materials | Sealant system | Adhesive composite restoration plus sealant | Restorative system selected for cavity and load |
| Follow-up focus | Sealant coverage, retention, and lesion activity | Sealant plus restoration margins, occlusion, and disease activity | Restoration integrity, margins, contacts, occlusion, and recurrent disease |
The decision should be based on current findings, not on a rigid hierarchy in which one treatment is always “better.” The broader sequence for larger posterior restorations is described in the posterior composite resin workflow. For sealant-specific placement principles, see the earlier pit-and-fissure sealant guide.
06 — Common PRR Errors to Prevent
Treating from color or explorer “stick” alone: clean, dry, assess cavitation and activity, and use radiographs when indicated.
Opening every fissure: limit operative access to the site that requires restoration; preserve sound structure.
Proceeding with poor isolation: contamination can impair adhesive performance and sealant retention.
Using one conditioning time for every substrate and system: follow the individual etchant, adhesive, and sealant instructions.
Assuming all flowable composites have the same indications: check mechanical properties, radiopacity, wear environment, increment limit, and current documentation.
Leaving excess in occlusion: inspect cusp inclines and verify static and excursive contacts.
Skipping recall: the sealed portion is a maintained interface and should be reviewed and resealed when clinically appropriate.
07 — Frequently Asked Questions About PRR
1. Is preventive resin restoration the same as a fissure sealant?
No. A sealant covers a susceptible occlusal surface without an operative restoration. PRR includes a localized resin restoration at the site requiring operative management and sealant over the remaining susceptible fissures.
2. Can PRR be used when a radiolucency reaches dentin?
Radiographic depth is one part of the diagnosis. Some noncavitated lesions can be managed nonoperatively, while a cavitated or more extensive lesion may need a restoration. The clinician must integrate visual findings, cavitation, activity, symptoms, caries risk, and restorability rather than use one radiographic threshold as an automatic rule.
3. Is flowable composite required for every PRR?
No. Flowable composite may be suitable for selected small preparations, but material choice depends on the preparation, occlusal load, product indications, and restorative plan. A paste composite or another restorative material may be more appropriate in some cases.
4. Does a partially lost sealant mean the entire PRR has failed?
Not necessarily. The surface should be cleaned and reassessed for caries, marginal defects, and restoration integrity. Suitable areas can often be reconditioned and resealed without replacing a sound localized restoration.
5. Can adults receive preventive resin restorations?
Yes. Although PRR is often discussed in relation to young permanent posterior teeth, selection depends on lesion and patient factors rather than age alone.
6. How long does a PRR last?
No single lifespan applies. Longevity depends on lesion selection, isolation, adhesive and curing technique, material, occlusion, caries risk, and maintenance. Recall is essential because sealant coverage may need repair or renewal over time.
08 — References
Wright JT et al. Evidence-based clinical practice guideline for the use of pit-and-fissure sealants. https://pubmed.ncbi.nlm.nih.gov/27470525/
Griffin SO et al. The effectiveness of sealants in managing caries lesions. https://pubmed.ncbi.nlm.nih.gov/18218845/
de Assunção IV et al. Systematic review of noninvasive treatments to arrest dentin non-cavitated caries lesions. https://pmc.ncbi.nlm.nih.gov/articles/PMC4023307/
Schwendicke F et al. Managing Carious Lesions: Consensus Recommendations on Carious Tissue Removal. https://pubmed.ncbi.nlm.nih.gov/27099358/
09 — About ATBIO
This article is published by ATBIO, the dental-materials brand of AT&M Biomaterials Co., Ltd.
ATBIO (AT&M Biomaterials Co., Ltd.) manufactures composites, adhesives, etchants, cements, impression materials and endodontic consumables, with OEM and private-label support. Request current conformity documents for the exact product and market. CE documentation is product-specific; ISO 13485 concerns the quality management system and does not establish clinical superiority or permission to sell in every country.
This article provides general educational information and does not replace diagnosis, individualized treatment planning, professional clinical judgment, or the instructions for use of a specific product. This page does not claim unconditional sale authorization in every country.
10 — Related Products
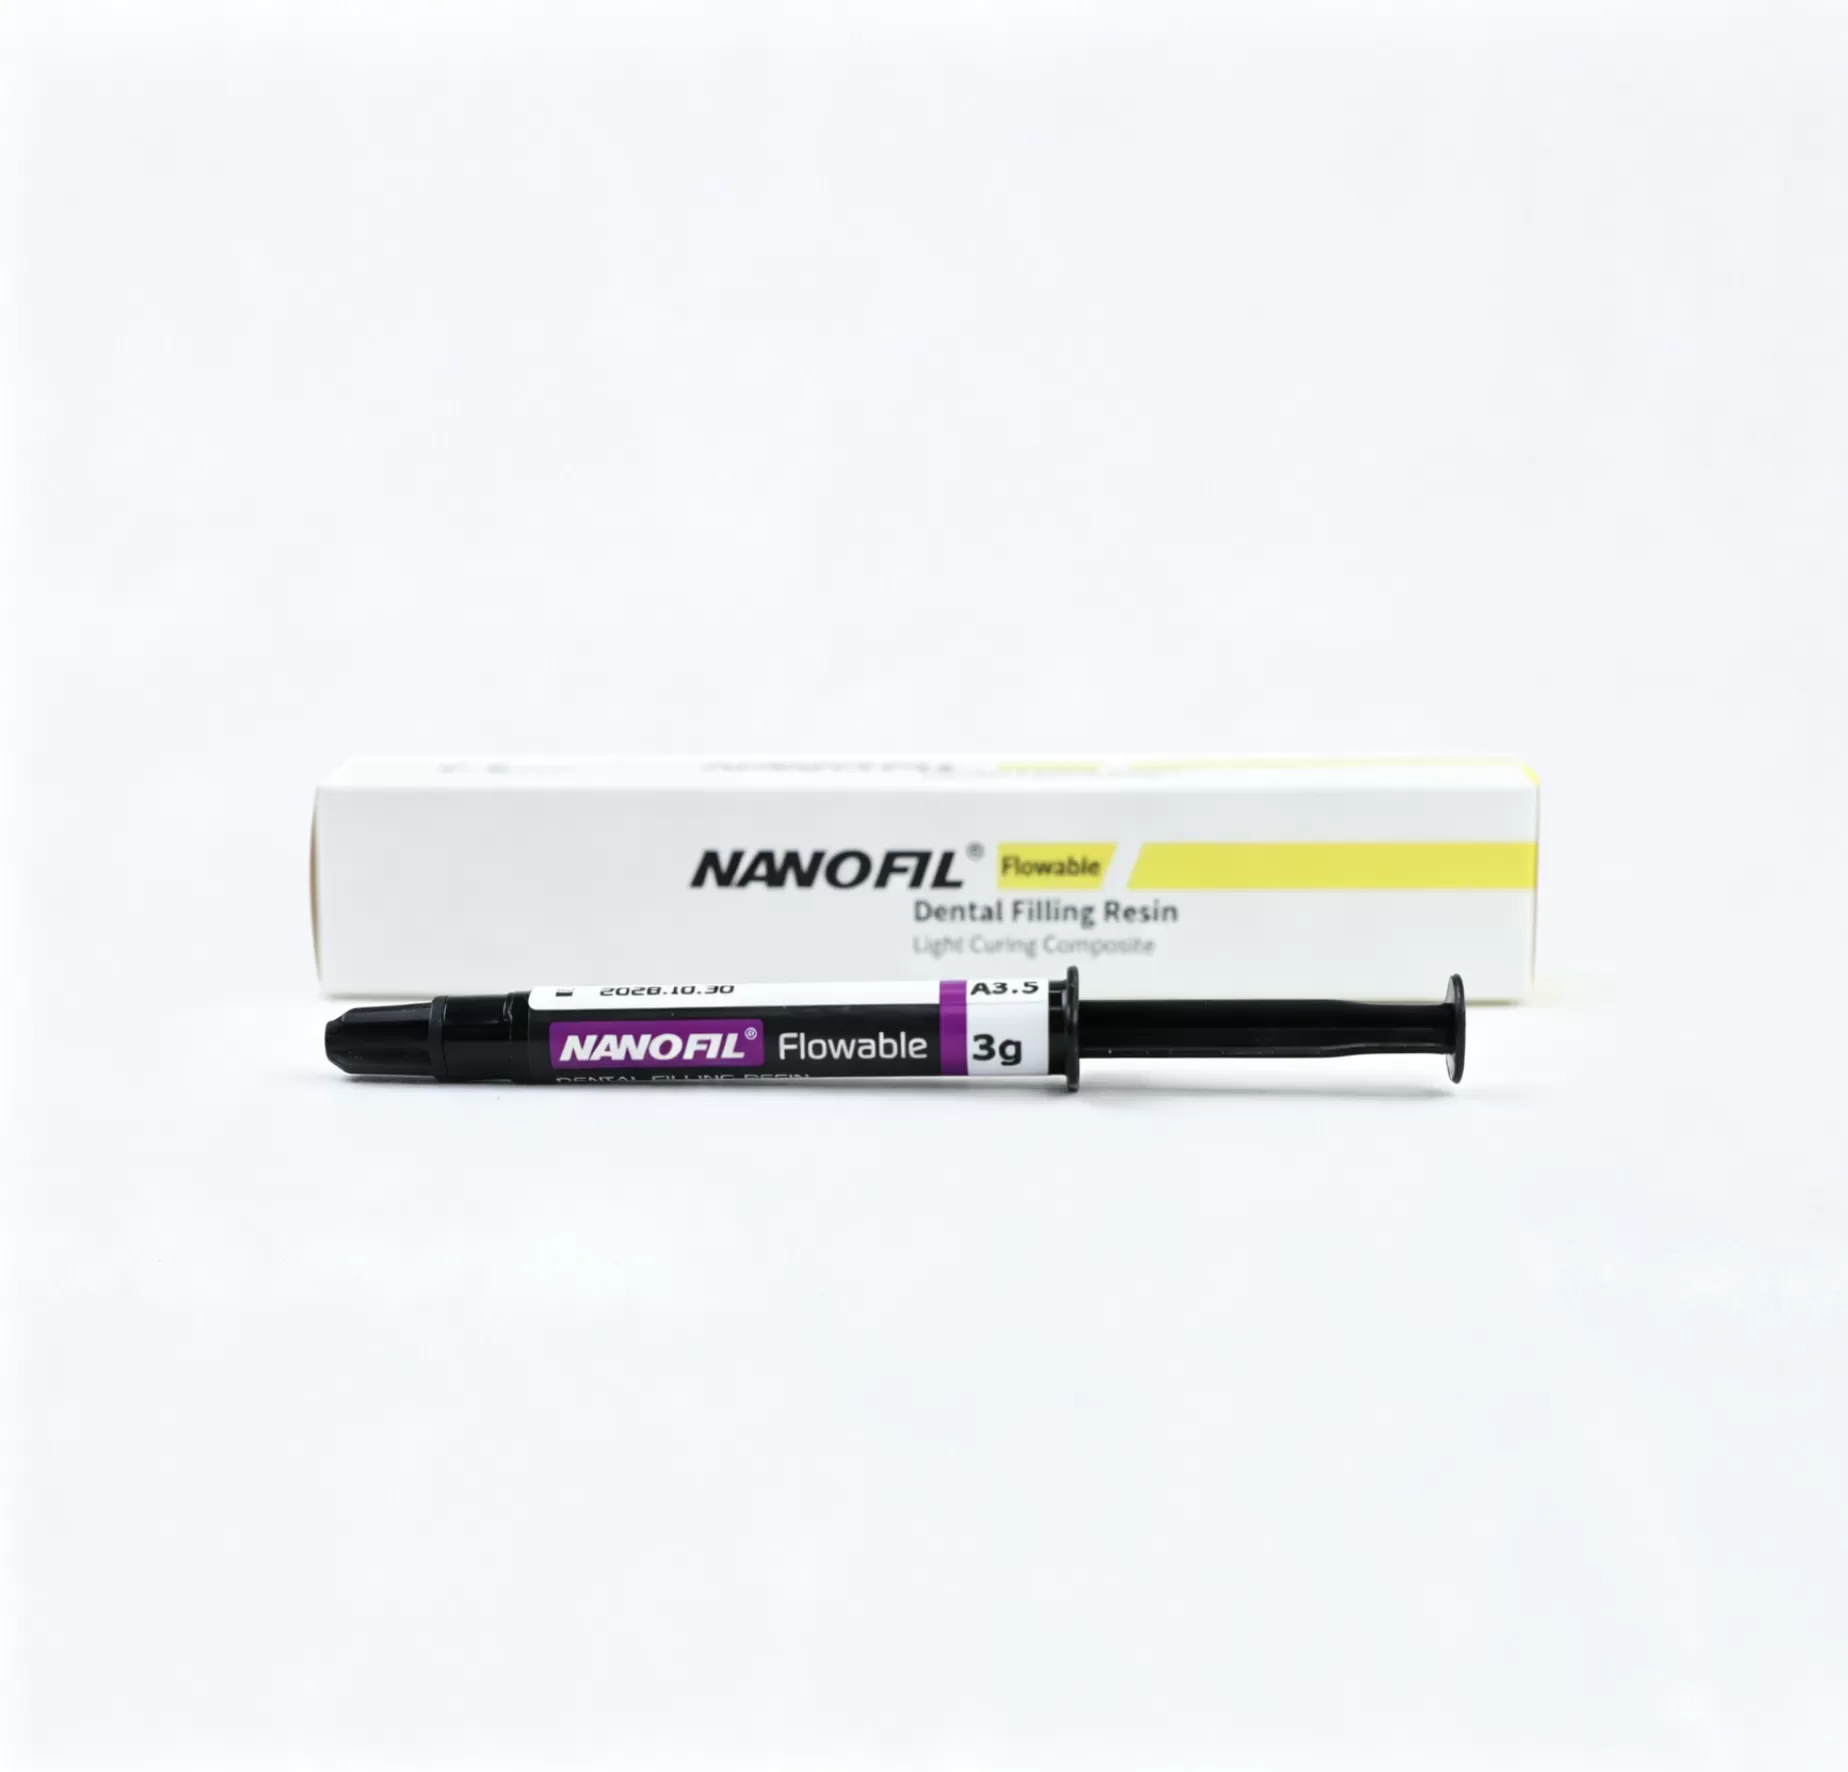
NANOFIL® Flowable Light-Cured Composite Resin — a low-viscosity restorative composite for professional evaluation within its documented indications.
NANOFIL® Pit & Fissure Sealant — a light-cured sealant for preventive workflows according to the current instructions for use.
ATBIO Etchant Gel Range — phosphoric-acid etching options for compatible adhesive and sealant protocols.
Check whether your proposed kit includes a sealant, and request the compatibility and curing instructions for each component. Request a quote or contact ATBIO for current instructions, technical documents, samples, and distributor support.
Do you prefer online learning?
Live webinars and professional tips — learn when, where and how.
Access our online learning opportunities