Composite Resin Filling | Posterior Workflow | ATBIO
Posterior composite resin filling has become the default direct restorative procedure for posterior cavities in many markets. Molars and premolars, however, present higher functional demands than anterior teeth: heavy masticatory loads, constrained access, and difficult proximal geometry all amplify the importance of execution quality. The margin between a restoration that lasts years and one that fails early is usually not the material alone, but the way the workflow is controlled from isolation to occlusion adjustment.
This workflow guide keeps all core clinical principles from the source process intact and adds practical structure for teams standardizing posterior care.
01 — Posterior restoration challenges
Posterior composite work is consistently more difficult than anterior work for four core reasons.
Occlusal load. Posterior teeth carry high cyclic forces. Restorations must tolerate repeated contact pressures at cusps and marginal ridges without losing morphology.
Wear resistance. Underfilled or low-filler bulk in load-bearing regions can compact and wear quickly, causing anatomy loss and functional shift.
Proximal contacts. Class II restorations must recreate stable contact points and proximal contours with controlled matrix strategy.
Curing geometry. Deep boxes, long cavities, and thin cusps increase polymerization risk. Increment size and curing discipline are essential to avoid stress-related defects.
02 — Material selection
Posterior workflows usually combine material families according to function and cavity depth.
Packable nanohybrid composites
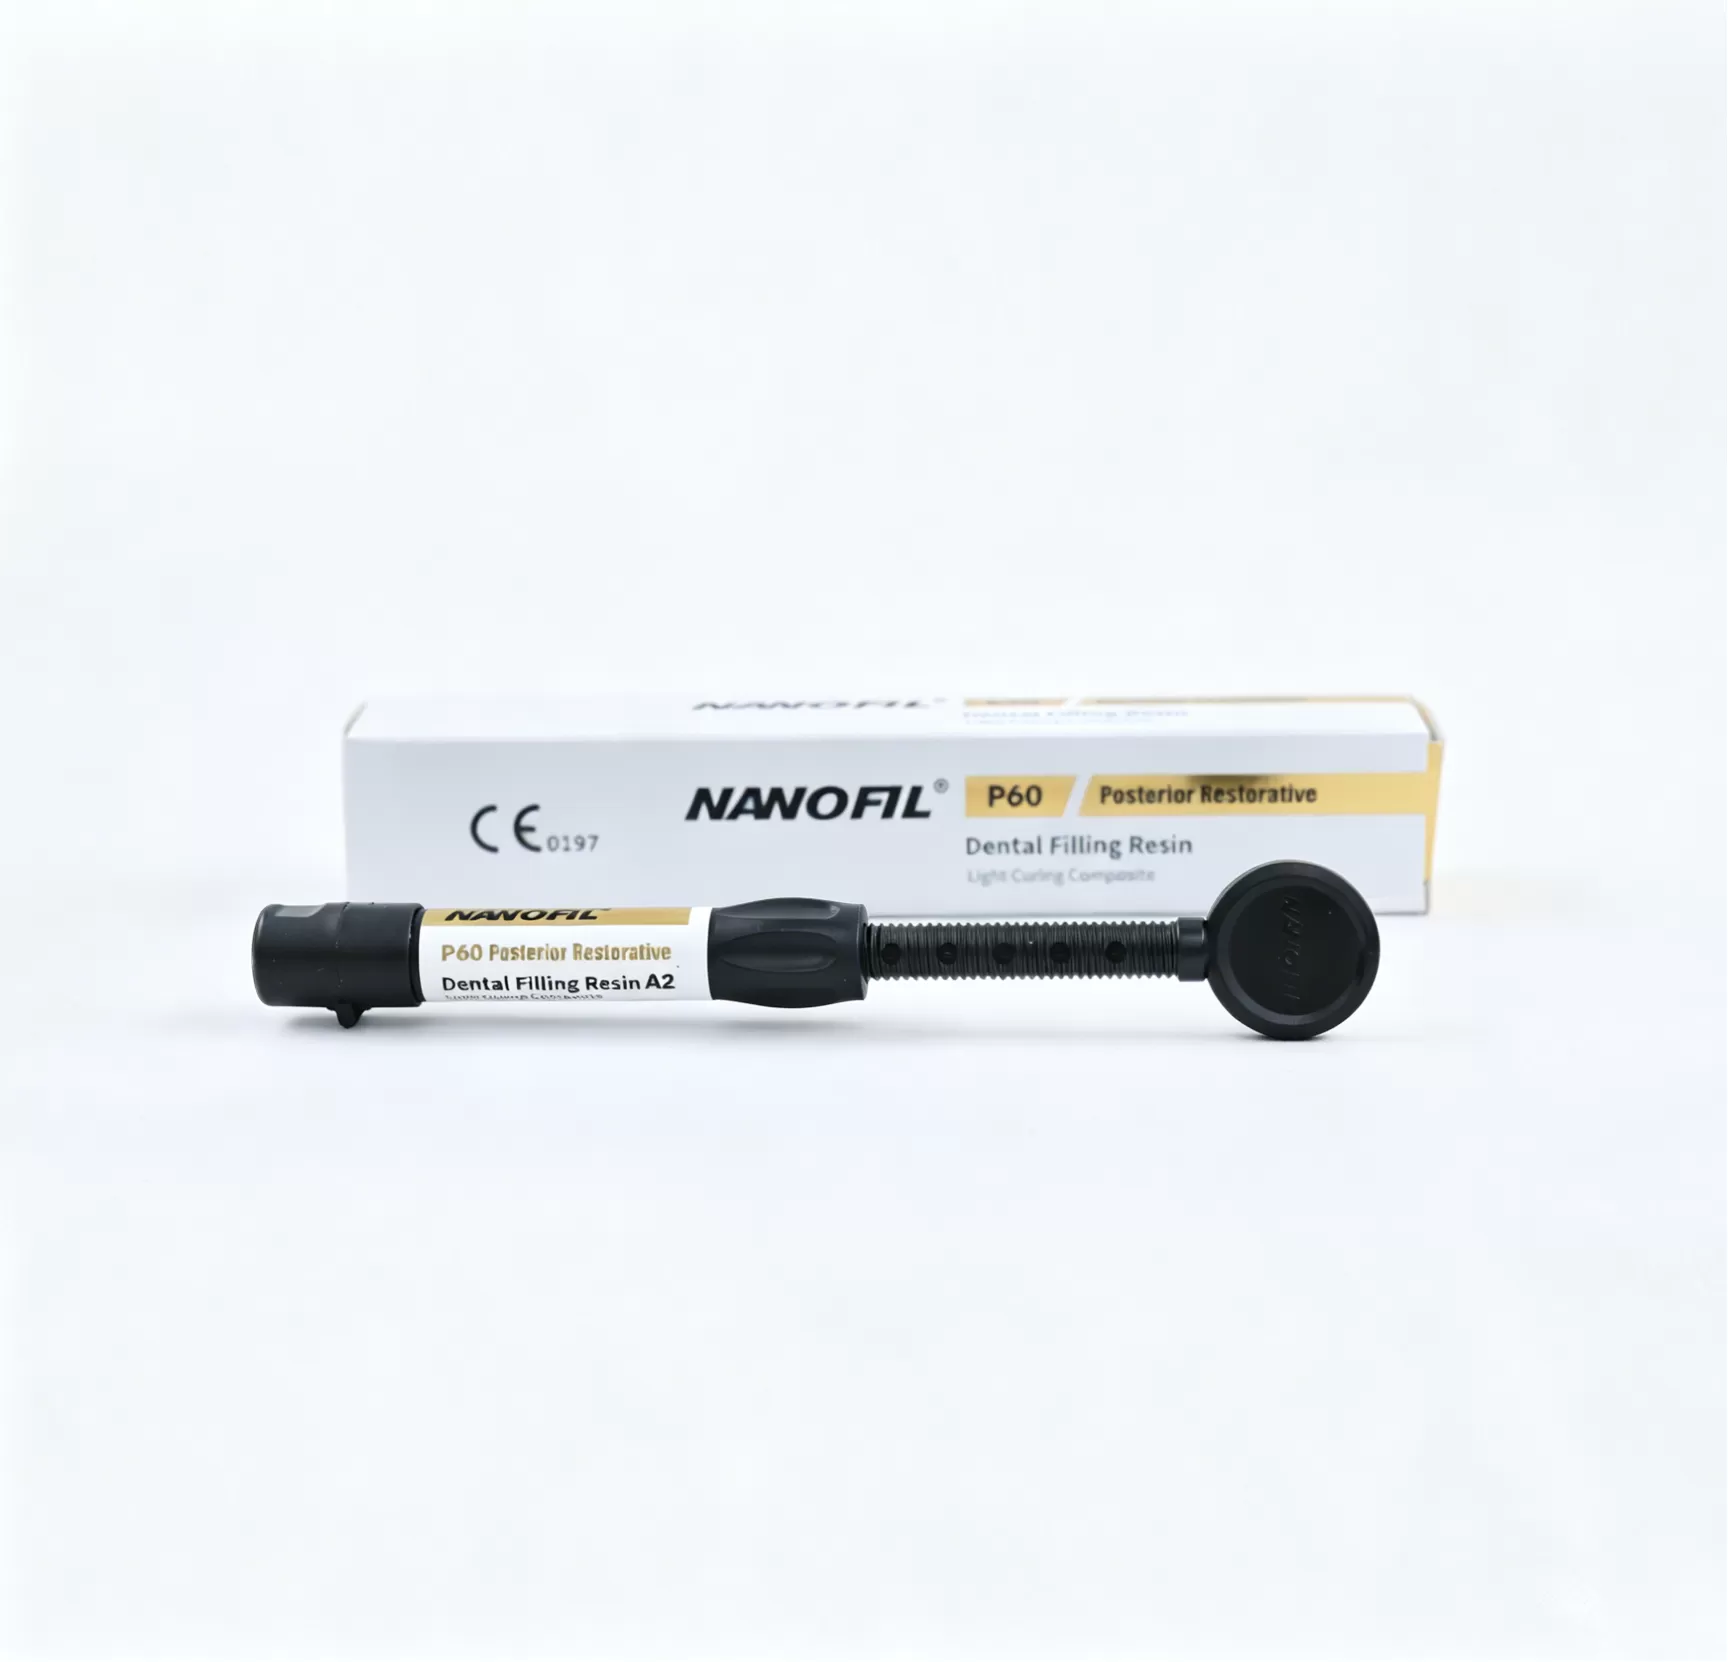
The primary posterior option is a high-filler, packable composite for core build-up and occlusal reconstruction. A dedicated posterior formulation provides the consistency and bulk support for class I/II anatomy recovery under load. ATBIO’s NANOFIL® P60 Posterior Restorative is designed for this use, while NANOFIL® Z250 Universal Restorative supports cross-utilization when clinics choose one-paste versatility.
Flowable composite
Flowable material is used as an adaptation liner where a thick paste cannot fully wet deep line angles, especially on gingival floors of class II boxes and selected small class I defects. It is a supportive layer, not a load-bearing substitute in high-stress areas.
ATBIO’s NANOFIL® Flowable is commonly selected for this indication.
Bulk-fill composite
Bulk-fill systems are used to simplify deep-body placement while controlling stress and improving light transfer in approved configurations. As general literature-informed guidance, bulk-fill placement may be allowed up to approximately 4 mm when supported by the specific product IFU, while occlusal enamel-forming layers are frequently finished with conventional packable composite.
Compare clinical principles across indications in the bulk-fill buying guidance and the ATBIO selection framework in dental composite resin selection matrix.
03 — Step-by-step posterior composite workflow
Step 1 — Isolation
Use rubber dam whenever possible for posterior adhesion-critical cases. Keep isolation, wedges, and matrix control strict, because moisture contamination remains the leading preventable cause of marginal staining, sensitivity, and retention loss. If dam placement is not feasible, intensify mechanical isolation and retraction control.
Step 2 — Cavity preparation
Prepare conservatively: remove caries and unsupported enamel, preserve sound fissures, and retain cuspal structure. Rounded internal angles lower stress concentration. In deeper cavities, manage pulp protection through your clinic’s liner/base protocol.
Step 3 — Matrix and contact control
For class II sites, place and secure the sectional matrix with separation prior to bonding, then burnish toward the proximal wall to establish contact architecture before curing. Matrix timing affects marginal contact quality directly.
Step 4 — Etch and bond
Choose your adhesive protocol by clinic standard: total-etch, self-etch, or universal workflow. Enamel selective etch is common for posterior durability. Apply, dry, air-thin, and cure exactly per manufacturer instructions and IFU. Skipped steps, weakly air-thinned layers, and wrong timing produce recurring failures.
For compatible systems and process continuity, ATBIO reference options include Perfect-Link Universal Dental Adhesive, NANOFIL Bonding Agent, and NANOFIL Etchant Gel.
Step 5 — Incremental placement
Use small, controlled increments of conventional paste at approximately 2 mm as general literature-informed guidance when not using a certified bulk-fill depth protocol. For deep posterior boxes, many teams place a flowable adaptation layer first, then body material, and finish with enamel-facing conventional occlusal anatomy.
Step 6 — Curing
Cure from the shortest distance possible to each exposed layer, including occlusal and accessible proximal surfaces. Confirm irradiance with regular radiometric checks and follow each material’s declared exposure time. Distant tips and shortened exposures can create well-shaped but under-cured restorations.
Step 7 — Anatomy reconstruction
Build marginal ridges, fissures, and fossae during placement rather than overbuilding then trimming aggressively. Controlled anatomy placement reduces unnecessary bur intervention on fragile edges and helps protect margins.
Step 8 — Occlusion adjustment
After curing and matrix removal, verify both centric and dynamic occlusion with articulating paper and make controlled adjustments. Slight occlusal prematurity increases long-term fracture and sensitivity risk.
Step 9 — Finishing and polish
Refine anatomy with fine finishing tools, then polish to reduce surface roughness. A smooth finish supports plaque control, stain resistance, and functional wear stability.
Step 10 — Recall and monitoring
Monitor margins, contacts, and wear at routine intervals so minor defects are managed as repairs rather than replacements.
04 — Workflow checklist
| Step | Clinical action | Quality control focus |
|---|---|---|
| 1 Isolation | Rubber dam and matrix setup | Prevent moisture contamination at bonding sites |
| 2 Cavity preparation | Conservative removal, rounded angles | Reduce stress concentration and preserve structure |
| 3 Matrix placement | Sectional matrix before bonding | Build stable proximal contact and seal |
| 4 Etch and bond | Adhesive selection and proper cure | Follow IFU timing and thickness control |
| 5 Increment placement | 2 mm conventional, up to about 4 mm only if certified bulk-fill | Avoid under-cure and shrinkage defects |
| 6 Curing | Close-to-surface and timed exposure | Verify light output and access angles |
| 7 Anatomy | Define ridges and pits during build-up | Minimize aggressive final carving |
| 8 Occlusion | Centric and excursive checking | Eliminate premature contacts |
| 9 Finish and polish | Fine finishing then polishing | Reduce plaque retention and wear |
| 10 Recall | Monitor margins, contact, wear | Detect minor defects early |
05 — Common errors and prevention
Contaminated bond surface: compromised isolation remains the top preventable cause of postoperative sensitivity.
Oversized increments: placing material deeper than approximately 2 mm with conventional technique can raise under-cure and shrinkage stress risk.
Weak proximal contact: late matrix placement or weak burnish leads to open contacts and food impaction.
Under-curing: weak output, distant tip, or shortened exposure on deep layers leaves a restoration that fails despite ideal shape.
Air entrapment: pulling composite from walls rather than adapting into line angles creates voids and weak interfaces.
Ignoring gingival adaptation: poor first-increment adaptation in class II boxes frequently initiates microleakage at the highest-risk margin.
Skipping occlusal verification: premature contacts are immediately felt by patients and accelerate failure.
Aggressive finishing: over-reduction of marginal ridges or adjacent enamel compromises function and edge integrity.
06 — Frequently asked questions
How long does a posterior composite filling usually last?
With strict adhesion control, layered placement, and proper occlusion, posterior composites can function for many years. Typical contemporary evidence supports multi-year to decade-scale clinical service, with operator technique and occlusal risk factors being decisive.
Do posterior composites need to be built up in layers?
Conventional packable material is usually layered at approximately 2 mm steps. Certified bulk-fill materials may be used in deeper increments within the manufacturer’s depth guidance. Always default to the product IFU.
Can bulk-fill replace conventional material in all posterior cases?
Bulk-fill is often used for deep bodies but should not always replace load-bearing enamel-facing composite. Many workflows still complete the occlusal layer with higher-wear-resistant conventional composite for final anatomy.
When is a full crown more appropriate than a posterior filling?
When tooth structure is insufficient to support function, especially after major breakdown or fracture risk, an indirect restoration is usually preferred.
Where can clinicians compare filling systems and selection criteria?
ATBIO provides a practical baseline in the filling types comparison, with product-specific selection guidance in the composite resin selection matrix.
07 — References
08 — About ATBIO
ATBIO is a B2B-focused global materials organization supporting restorative dentistry with a broad portfolio of tested composites, adhesives, and accessory solutions. ATBIO products are developed under EN ISO 13485-compliant quality management and are supported by CE certification across relevant product lines. The company serves in 100+ countries and builds brand continuity through recognized systems including NANOFIL®, NANOFIL Nova®, GK®, and ONELUX®.
For restorative context and line integration, review the complete composite platform at ATBIO dental composite resins.
Additional educational reference on material differences is available in glass-ionomer versus composite and Minamata phase-down practical guidance.
09 — Related products
NANOFIL® Z250 Universal Restorative — nanohybrid universal system for broad application.
NANOFIL® P60 Posterior Restorative — packable high-strength formulation for load-bearing posterior use.
NANOFIL® Flowable — low-viscosity adaptation support for proximal boxes and small restorations.
10 — Clinical support and next step
ATBIO’s posterior workflow approach is built for predictability: controlled isolation, matrix strategy, incremental build, and monitored curing. For teams standardizing quality, request a tailored review and planning support.
This page does not claim unconditional sale authorization in every country.
Do you prefer online learning?
Live webinars and professional tips — learn when, where and how.
Access our online learning opportunities